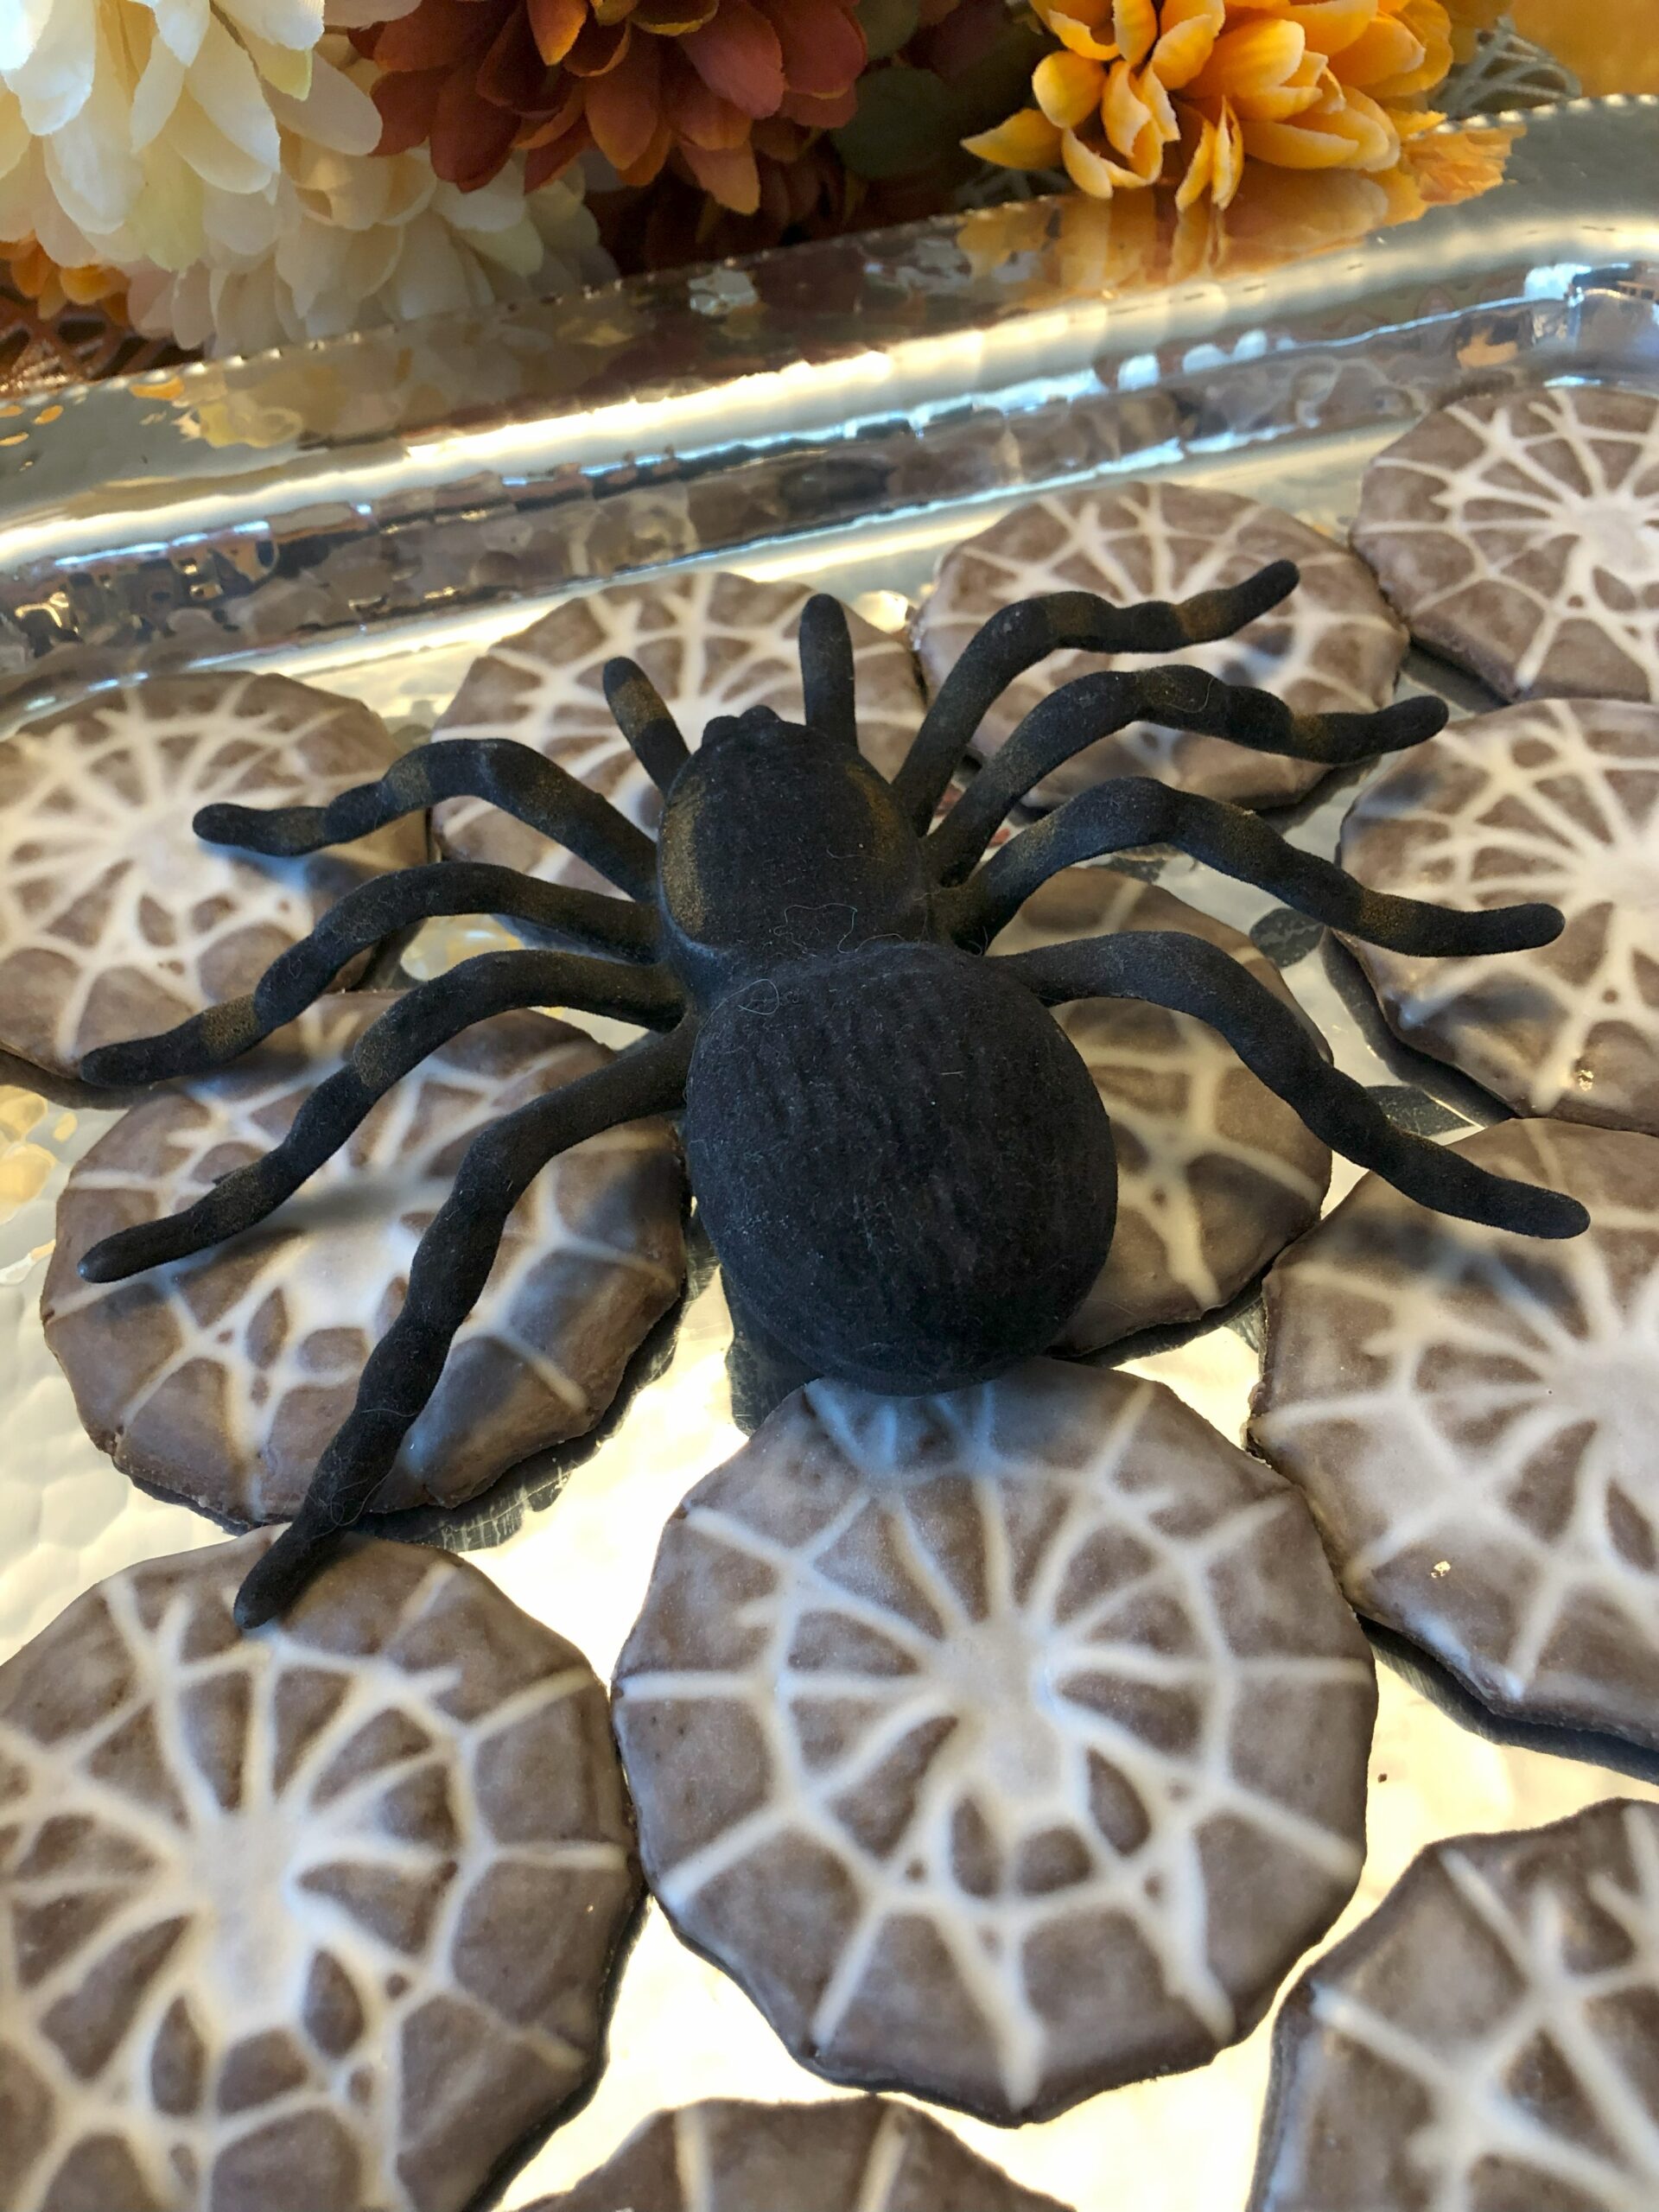
Glazed Chocolate Spider Cookies

Glazed Chocolate Spider Cookies: The Perfect Spooky-Sweet Treat for Halloween
Halloween is the perfect time to bring spooky and delicious treats to the table, and these Glazed Chocolate Spider Cookies are just the ticket! Made with a rich, slightly sweet chocolate dough, these cookies come to life with the help of a fun 3D spider-and-cobweb cookie cutter. Once baked, the grooves in the cookie design create the perfect canvas for a glossy glaze to pool, making the intricate spider and web pattern pop. With just the right balance of sweetness and a delightful crunch, these cookies aren’t just a hit for their looks—they’re also irresistibly tasty!
Recipe (29 cookies):
Ingredients:
- 1 cup Salted butter, softened
- 1/2 cup Powdered sugar
- 1 3/4 cups All-purpose flour
- 6 Tbs Cocoa powder
For the Glaze:
- 2 cups powdered sugar
- 3 tablespoons milk
- 1 teaspoon vanilla extract
Instructions:
- In a large bowl, cream together the softened butter and powdered sugar until light and fluffy, using a handheld electric mixer.
- In a separate bowl, whisk together the flour and the cocoa powder.
- Gradually add the dry ingredients to the wet ingredients, mixing until a soft dough forms.

- Separate the dough into two pieces, refrigerate 15-30 min.

- Preheat your oven to 350°F (175°C).
- Roll out the chocolate dough between two parchment papers (doing so the dough stays nice dark and chocolaty) to about 1/4-inch thickness, using rolling pin with a spacer for even thickness.
- Use a floured 3D Spider cookie cutter to cut out the cookies. The dimensional design creates grooves in the shape of a spider on the cookie.

- Place the cut-out cookies on a parchment-lined baking sheet, leaving space between each.

- Bake in the preheated oven for 12-14 minutes or until the edges are set.

- Allow the cookies to cool on the baking sheet for a few minutes before transferring them to a wire rack to cool completely.
Prepare the Glaze:
- In a medium bowl, whisk together powdered sugar, milk and vanilla extract until smooth.
- Adjust the consistency by adding more sugar or milk if needed. The glaze should be thick but pourable.

Glaze and decorate:
- Once the cookies are completely cooled, spoon the glaze over each cookie.
- Allow the glaze to flow into the spider/web grooves, creating a beautiful contrast with the rest of the cookie.

- Let the glaze set before serving, giving it a glossy finish that enhances the visual appeal.
- Serve and enjoy. Share with friends and loved ones.

Conclusion:
These Glazed Chocolate Spider Cookies will not only steal the show at your Halloween party but also win over taste buds with their perfect blend of rich chocolate and sweet glaze. The fun, detailed design and the little crunch in each bite make them an ideal festive treat. So, if you’re looking to impress your guests with something spooky, pretty, and delicious, these cookies are sure to do the trick!
Feel free to check out my Halloween Bat Cookies as well.
HAPPY HALLOWEEN!


Leave a Reply